Self-Hosting with Home Assistant: How to Achieve 99.99 % Uptime on a Raspberry Pi Cluster
High availability home automation on a budget
Running Home Assistant locally means you’re in control of your smart home, but relying on a single Raspberry Pi can lead to downtime during updates or hardware failure. With a small cluster, you can build redundancy and reach near enterprise-level availability. This approach draws on practices honed in data centers over the last two decades—scaled down to fit in your entertainment cabinet.
1 A Quick Look Back
Home automation began as a hobbyist pursuit in the early 2000s, with enthusiasts wiring X10 modules and custom scripts. Raspberry Pi lowered the barrier to entry, letting DIY tinkerers run full-fledged software like Home Assistant. As our houses fill with connected gadgets, ensuring consistent access becomes more than a convenience—it’s a necessity whenever lights, alarms, or security cameras rely on the system.
2 Building the Cluster
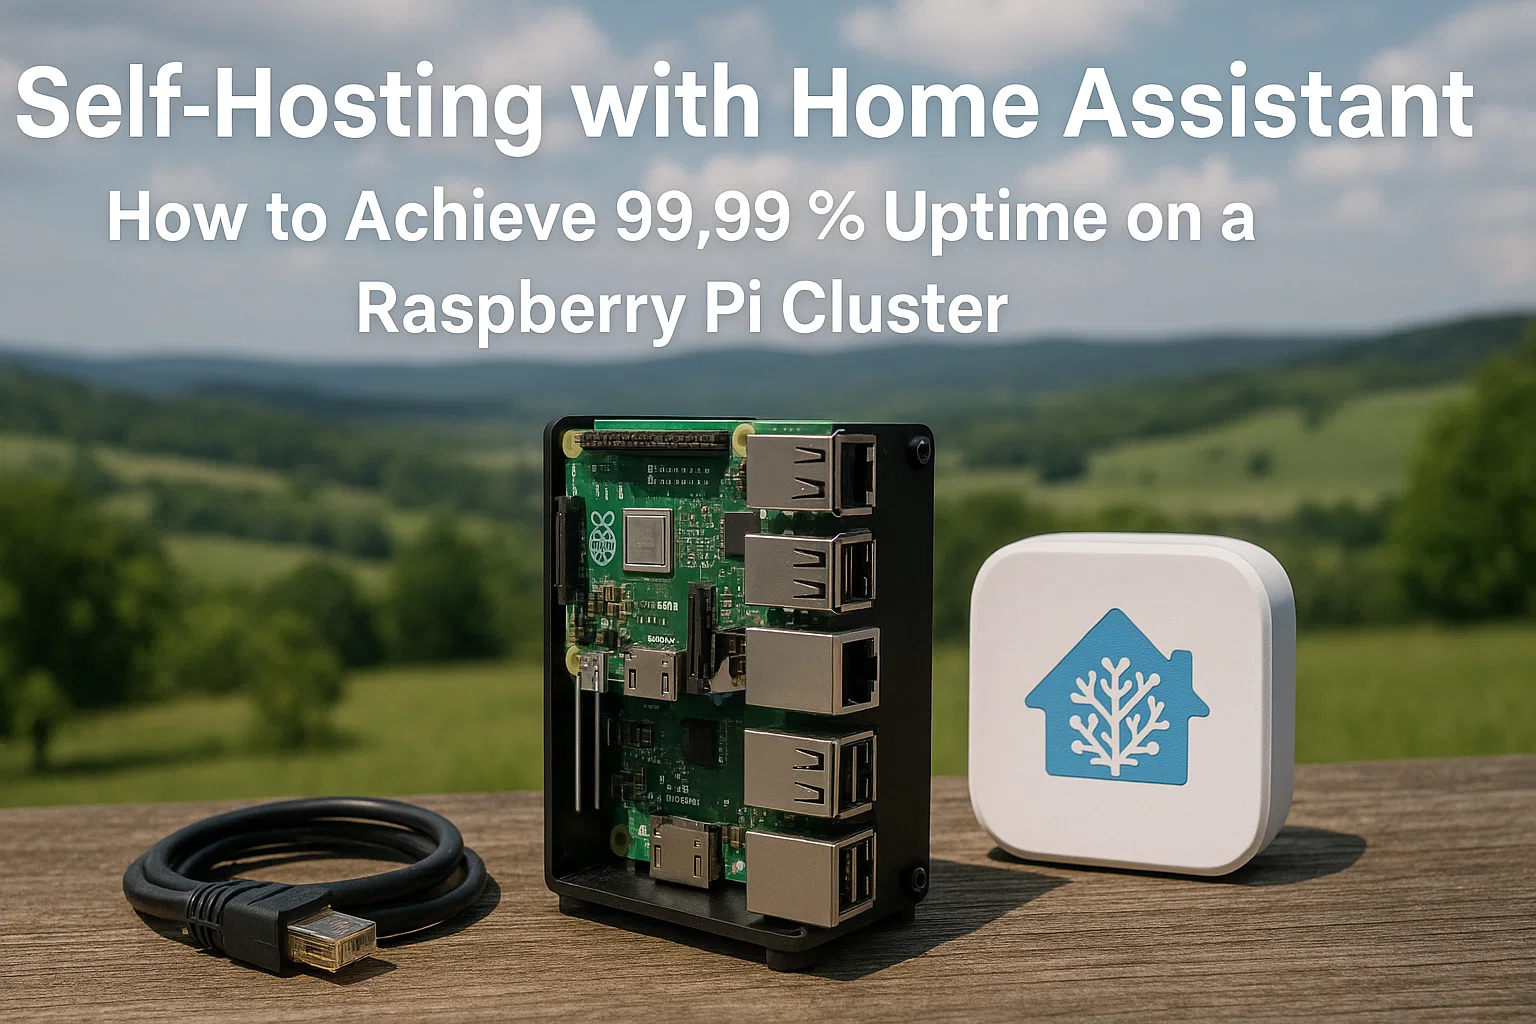
Start with three identical Raspberry Pis. Flash them with your preferred Linux distribution and install Home Assistant using Docker. Give each node a unique hostname and static IP address so your automation scripts have stable endpoints. Connect them through a gigabit switch and feed everything from a single UPS. This setup protects you from power blips and simplifies cable management.
For shared state, configure an NFS server or a lightweight NAS. Store Home Assistant configuration files and backups here so any node can take over at a moment’s notice. You’ll also want a reverse proxy such as Nginx or Traefik that exposes a single virtual IP to your home network, automatically forwarding requests to the active node.
3 High Availability Tactics
Deploy keepalived or a similar heartbeat mechanism so nodes can check on each other’s status every few seconds. When one drops offline—whether due to power loss or a bad SD card—another steps in, keeping Home Assistant available. This setup also enables rolling updates: upgrade one node, verify it works, then move on to the next.
For data integrity, schedule nightly snapshots of your Home Assistant configuration. Store them on the shared NFS volume and, if possible, back up to cloud storage. That way you can rebuild a node from scratch without losing automation history.
4 Monitoring and Maintenance
Prometheus and Grafana pair nicely to track CPU temperature, memory usage, and disk wear. Consider booting from USB SSDs instead of SD cards—they’re far more reliable for 24/7 operation. Schedule quarterly checkups to clean dust from heat sinks and update your OS packages. A little preventative care goes a long way toward keeping the cluster stable.
5 Pros and Cons of Clustering
Pros
- Near-continuous uptime even during hardware failures
- Easy to perform rolling updates without disrupting automations
- Scales with additional Pis if your setup grows
Cons
- Slightly higher power usage and upfront cost
- More components to manage compared to a single-node installation
6 Conclusion
A Raspberry Pi cluster may not be as powerful as a rack of servers, but it can deliver impressive availability if you architect it carefully. By combining shared storage, automated failover, and proactive monitoring, your Home Assistant setup will hum along with minimal interruptions—so you can spend more time enjoying smart home automation and less time troubleshooting.
7 Historical Perspective
Home automation has come a long way since X10 power-line communication systems in the 1970s. The rise of affordable microcomputers like the Raspberry Pi democratized the field, enabling hobbyists to build sophisticated setups that rival professional solutions. Understanding this evolution highlights why clustering multiple devices is now feasible for everyday users.
8 Evaluating the Trade-Offs
A cluster provides resilience but introduces complexity. Redundant nodes require careful configuration to avoid split-brain scenarios, and troubleshooting network storage can be daunting. However, the payoff is significant: fewer interruptions during updates and hardware failures.
9 Actionable Tips for Sustained Uptime
- Keep spare parts on hand—an extra SD card or Pi board ensures quick recovery when hardware fails.
- Document your configuration and version control automation scripts for easy rollback.
- Explore containerization with Docker or Podman to simplify deployment across nodes.
10 Forward-Thinking Outlook
As energy-efficient hardware improves, running a home cluster becomes even more accessible. Future iterations of Home Assistant may include built-in clustering support, streamlining this approach for newcomers. Staying informed about these trends helps you maintain an efficient and resilient smart-home ecosystem.
11 Additional Considerations
Local regulations regarding radio frequencies and data storage can affect how you deploy smart-home clusters. Research compliance requirements in your region to avoid unexpected issues. Energy consumption is another factor—monitoring the cluster’s power usage helps keep electricity bills manageable.
Community forums and online documentation are valuable resources. Sharing experiences with other enthusiasts accelerates troubleshooting and reveals innovative solutions you might not discover alone. By staying engaged, you ensure your setup remains secure and efficient as new devices enter the market.
12 Wrapping Up
Building a resilient home automation cluster is an ongoing process. As technology evolves, revisit your architecture to incorporate new best practices. Document lessons learned and share them with the broader community. Together, enthusiasts can refine techniques that bring professional-grade reliability to affordable setups.