Pita Bread: Puffy, Charred, and Better Than Anything in a Packet
Homemade pockets that balloon in the heat
Pita Bread: Puffy, Charred, and Better Than Anything in a Packet
Ingredients
- 400g strong white bread flour, plus extra for dusting
- 7g instant dried yeast
- 1 tsp caster sugar
- 1 tsp fine salt
- 250ml water, lukewarm
- 2 tbsp olive oil, plus extra for the bowl
- 1 tbsp wholemeal flour (optional, for flavour)
Method
- Whisk the yeast and sugar into the lukewarm water and leave for 5 minutes until frothy.
- Combine the flours and salt in a large bowl. Pour in the yeast water and the olive oil and mix to a rough dough.
- Knead for 8-10 minutes until smooth and elastic, or 5 minutes in a stand mixer. Shape into a ball, oil lightly, cover and leave to rise until doubled, about 1 hour.
- Knock back and divide into 8 equal pieces. Roll each into a tight ball, cover, and rest for 15 minutes so the gluten relaxes.
- Put a heavy baking tray or pizza stone on the top shelf and heat the oven to its maximum, 250C or higher, for at least 20 minutes.
- On a lightly floured surface, roll one ball at a time into a circle about 4-5mm thick, keeping the thickness even all over.
- Working quickly, lay one or two pita onto the screaming-hot tray and bake for 3-4 minutes until they balloon up dramatically and the tops are just blistered.
- For extra char, finish each puffed pita for 20-30 seconds under a hot grill or over a gas flame.
- Wrap the baked pita in a clean tea towel as they come out, to keep them soft and pliable.
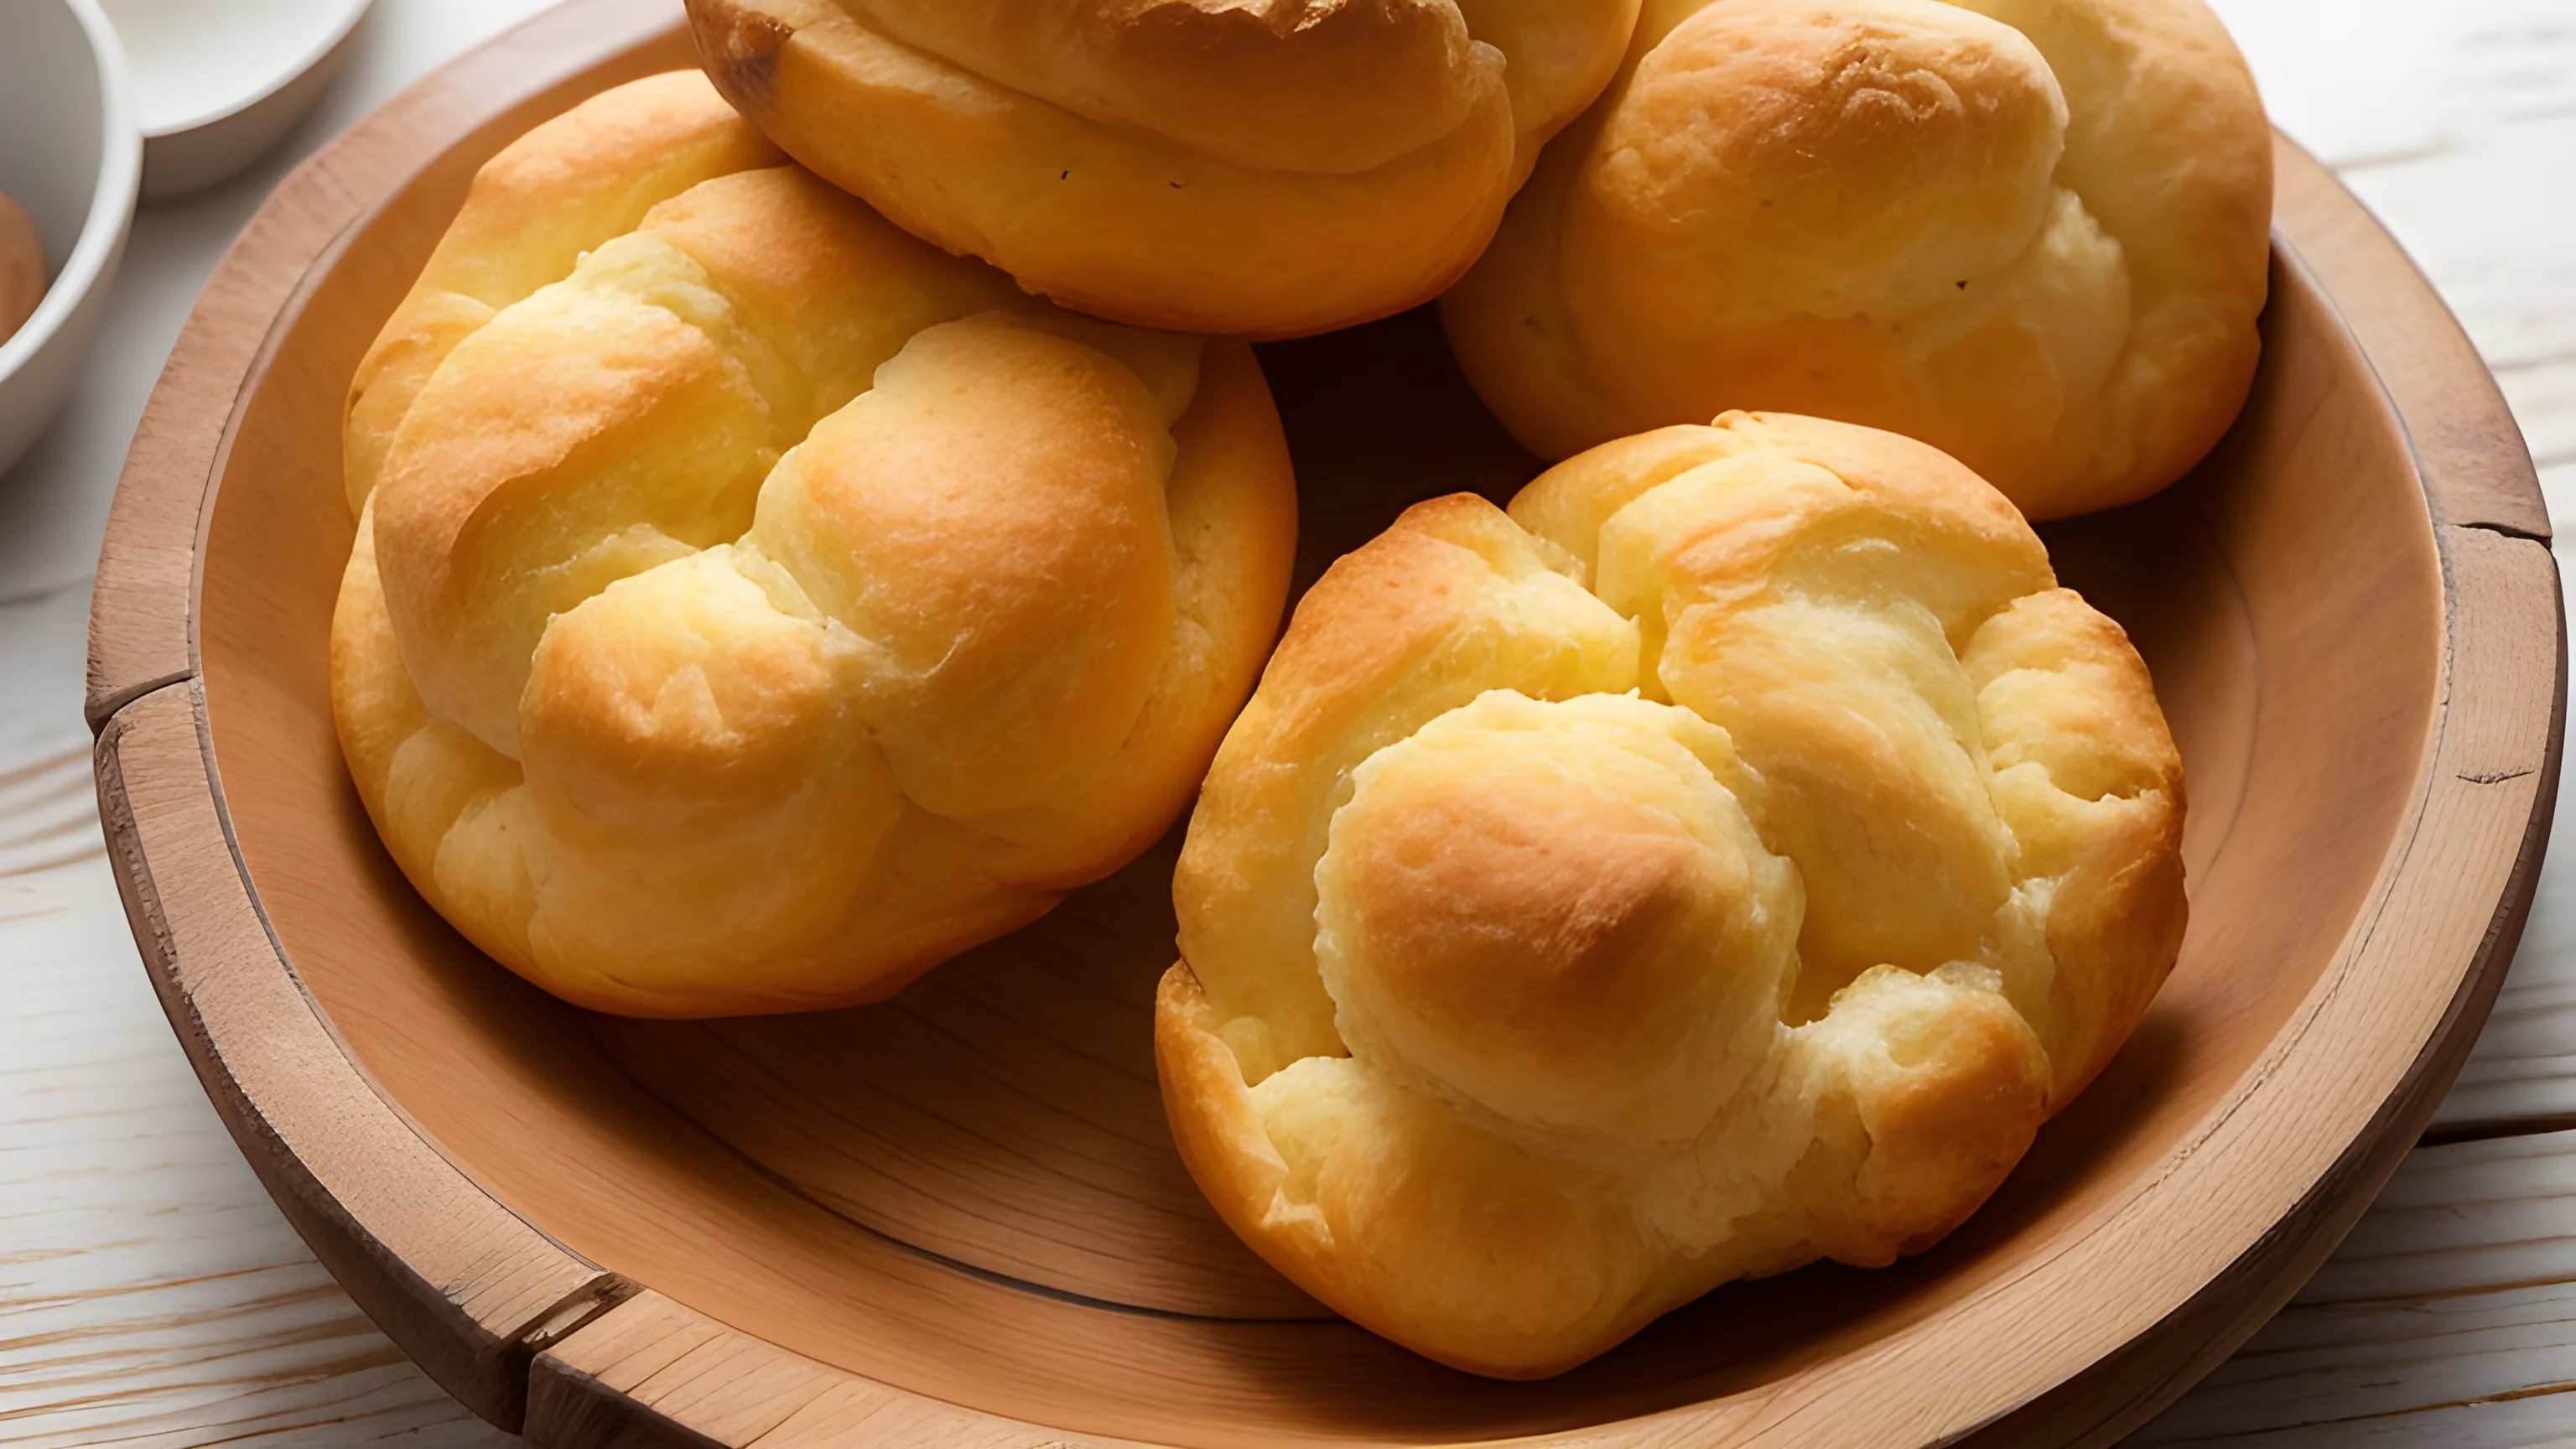
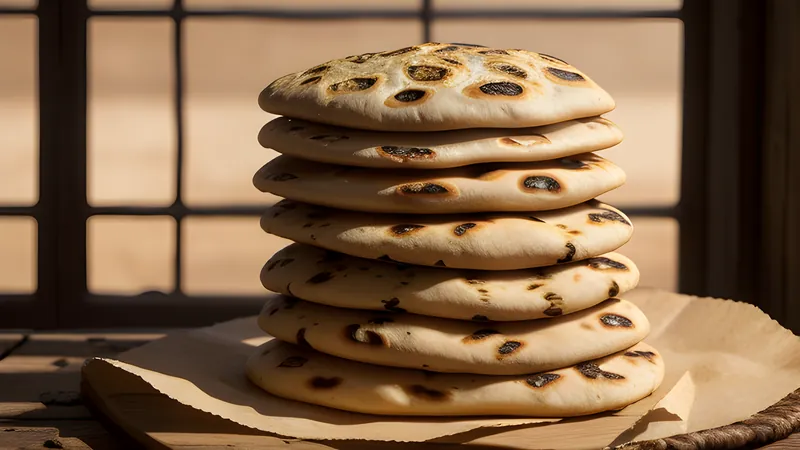
Shop-bought pita is one of life’s small disappointments: dry, papery, faintly cardboardy, with a pocket that tears the moment you try to fill it. For years I assumed that was just what pita was, until I made it at home and watched the first one balloon up in the oven like a small miracle. Homemade pita is a completely different animal — soft, chewy, fragrant, freckled with char, and warm enough to make the butter melt. It is also absurdly cheap and quick to make, and it is one of those breads that turns dinner into an occasion without any real effort.
There is no single clever ingredient here; the twist is technique and, above all, heat. The whole drama of pita — that puff, the hollow pocket, the leopard-spotted char — comes from baking a simple dough at a ferociously high temperature on a surface that is already screaming hot. Get that right and the bread does the spectacular part for you. The charring, which I push a little further than tradition strictly demands, is the difference between pleasant and unforgettable: that smoky, blistered edge is what makes a homemade pita taste like it came off a bakery’s stone floor.
1 How the pocket forms
The pocket is the whole party trick, and it is pure physics. A pita is rolled into a thin, even round and then hit with intense, sudden heat. The instant it lands on the hot surface, the water in the dough flashes to steam. With nowhere to go, that steam gathers in the centre and pushes up violently, forcing the top and bottom layers apart and inflating the bread into a balloon.
As it cools, the steam escapes and the bread deflates, but the two separated layers stay parted — and that gap is your pocket. Everything in the method is in service of this moment. The dough must be rolled evenly so the steam does not find a thin escape route; the oven must be as hot as you can get it; and the baking surface must be properly preheated so the bottom blasts the dough the second it touches down. A lukewarm tray gives you a flat, sad disc. A blistering one gives you the balloon.
2 A bread of the eastern Mediterranean
Pita, or some close cousin of it, has been baked across the Middle East and the eastern Mediterranean for thousands of years, and flatbreads of this kind are among the oldest cooked foods we know of. Long before ovens were a household fixture, breads like this were slapped onto the hot walls of clay ovens or cooked on heated stones and griddles. Its enduring genius is its usefulness: the pocket turns the bread itself into a vessel.
It is the natural home for falafel and salad, the scoop for hummus and baba ganoush, the wrap for shawarma, the base for countless meals across the region. That versatility is exactly why it is worth making your own — fresh, warm, pliable pita elevates everything you put near it, and once you have tasted it straight from the oven you will struggle to go back to the packet.
3 The details that matter
A short rest after dividing the dough is one of those small steps that makes a real difference. Rolling tightens up the gluten and makes the dough springy and reluctant to be shaped; let the balls relax under a cloth for fifteen minutes and they roll out far more easily and evenly, which directly helps them puff.
Roll thicker than you think — about four or five millimetres. Too thin and the bread crisps into a cracker before it can balloon; a little thickness keeps it soft and chewy and gives the steam something to lift. And work quickly once the oven is hot. Pita rewards a brisk, confident hand far more than a fussy one.
4 Keeping them soft and serving them
The moment your pita come out of the oven, wrap them in a clean tea towel. They emerge slightly crisp, but as they sit in their own trapped steam under the cloth they soften into the bendy, foldable texture you want. Skip this and they go brittle as they cool.
Eat them warm if you possibly can. Tear one open and stuff it with falafel, pickles and a slick of garlicky tahini; pile in grilled meat and salad; or simply dunk strips of warm, charred pita straight into a bowl of hummus and call it lunch. They reheat well — a few seconds in a hot dry pan brings them back to life — and the dough freezes happily as balls if you want fresh pita on demand. Once you have made them this way, you will, I promise, never again look at the packet on the supermarket shelf the same way.
Related Content