ESPHome: Building Custom Sensors for Home Assistant
Turn a three-quid microcontroller into a first-class Home Assistant device with a few lines of YAML

Contents
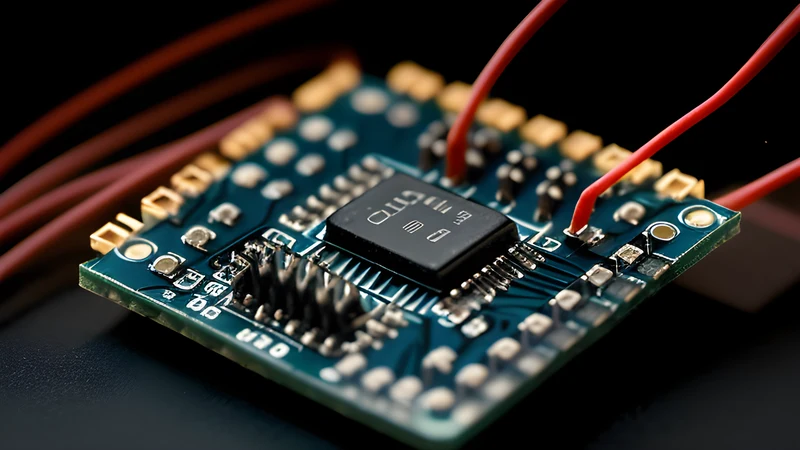
There is a particular joy in solving a problem with three quid of silicon instead of forty quid of someone else’s cloud-tethered gadget. ESPHome is the tool that makes that joy repeatable. You describe a device — its WiFi, its sensors, its outputs — in YAML, ESPHome compiles real C++ firmware, flashes it onto an ESP32 or ESP8266, and the device shows up in Home Assistant automatically with no cloud, no app, and no telemetry leaving your house. I’ve built temperature monitors, soil moisture sensors, a letterbox-open detector, and a CO₂ meter this way, and every one was easier than wiring up the equivalent off-the-shelf product.
The model
ESPHome is firmware-from-config. You write a YAML file per device. Each entry maps to a component: a sensor, a binary sensor, a switch, a display, whatever. ESPHome generates the firmware, and the device speaks the native ESPHome API to Home Assistant over your LAN. Discovery is automatic — flash it, and HA offers to add it.
You run ESPHome either as a Home Assistant add-on (the easy path) or as a standalone Docker container, which is what I do because I like keeping HA lean:
| |
network_mode: host matters: the device discovery and the dashboard both want to see the LAN directly. After the first flash over USB, every subsequent update goes over-the-air.
A word on why I keep the firmware build separate from Home Assistant itself. ESPHome’s compile step is genuinely heavy — it’s invoking the full Arduino/ESP-IDF toolchain to build C++ — and on a Raspberry Pi running HA, a from-scratch compile can take minutes and spike the CPU. Splitting it into its own container keeps HA responsive and lets the build box be whatever you like. It’s the same instinct that makes me run sensing, automation, and add-ons as separate concerns rather than one monolith: when something needs babysitting, you want to babysit it in isolation.
Where this fits in a Home Assistant setup
ESPHome isn’t the only way to get sensors into Home Assistant, and it’s worth knowing where it sits. The big alternative for off-the-shelf devices is Zigbee, and if you’re weighing the integration paths, the Zigbee2MQTT vs ZHA comparison covers that ground. The rough rule I use: Zigbee for battery-powered, buy-it-and-pair-it sensors where mesh range matters; ESPHome for anything custom, mains-powered, or where I want a specific sensor that nobody sells as a finished product. They coexist happily — most of my setup is a mix.
Once you’ve got devices reporting, the obvious next move is automating around them, and ESPHome devices are first-class citizens for that. Tying an ESP-based presence sensor into something like Wake-on-LAN automation to power servers on and off from Home Assistant is exactly the kind of glue that makes a local-first smart home feel like more than the sum of its gadgets — a cheap sensor you built triggers a real action on real hardware, with nothing leaving your network.
A real sensor: temperature, humidity, and a leak alarm
Here’s a genuinely useful device — a BME280 environmental sensor plus a water-leak probe on a digital pin, on an ESP32:
| |
The !secret references pull from a shared secrets.yaml, so your WiFi password and API keys never live in the device config — and you can commit the configs to git without leaking credentials. The api.encryption.key is the modern, encrypted native API; the ota block lets you push updates wirelessly forever after the first cable flash.
Compile and flash from the CLI:
| |
Within seconds those entities appear in Home Assistant. Now I can trigger an automation that screams at me if the washing machine springs a leak.
On-device logic, not just sensing
The thing that elevates ESPHome above “dumb sensor” is that it can run logic locally. A button can toggle a relay without a round-trip to HA, so it still works if HA is down:
| |
That on_press automation lives on the chip. The relay responds instantly and keeps working during a HA restart or a WiFi blip — local-first behaviour you simply don’t get from cloud gadgets.
A worked example: the letterbox detector
The build that converted me from “this is neat” to “I use this constantly” was embarrassingly trivial. I wanted to know when the post had arrived without walking to the door. A reed switch on the letterbox flap, a magnet on the flap itself, and an ESP32 — about four quid of parts — and the whole logic is a binary sensor with a debounce so the flap rattling in the wind doesn’t fire ten notifications:
| |
delayed_on/delayed_off are doing the unglamorous work that separates a useful sensor from an annoying one — without debounce, every gust of wind is a “you’ve got post” notification, and you learn to ignore it within a day, which defeats the point. That filters block is the difference between a gadget you trust and one you mute. The same pattern (debounce, threshold, hysteresis) applies to almost every physical sensor you’ll build, and ESPHome gives you those filters declaratively so you’re not reimplementing them in YAML automations downstream.
Battery devices need deep sleep
The always-powered examples above are the easy case. A WiFi radio is a power glutton — an ESP32 holding an idle connection draws on the order of 80mA, which murders a battery in a day or two. For a battery sensor you put the chip to sleep and only wake it to take a reading and report it:
| |
The trade-off is real: a deep-sleeping device is unreachable between wakes, so over-the-air updates need a window. The standard trick is a retained MQTT/api flag or a physical jumper that, when set, makes the device skip deep sleep on next boot so you can flash it. Forget to plan for that and your first OTA to a sleeping battery sensor will quietly never land, because the device is asleep every time you try. It’s the single most common “why won’t it update” question, and it’s almost always this.
Gotchas and troubleshooting
It is not all sunshine, and the failures cluster around a few predictable spots.
Serial port permissions on the first flash. On Linux the initial USB flash often fails with a permissions error because your user isn’t in the dialout group. Add yourself and re-log:
| |
If the port doesn’t even appear, it’s usually a missing CH340 or CP2102 USB-serial driver, or — embarrassingly often — a charge-only USB cable with no data lines. Swap the cable before you swap anything else.
The board won’t enter flash mode. Some ESP boards need you to hold the BOOT button while the upload starts, or briefly bridge GPIO0 to ground. If esphome run sits at “connecting” and times out, that’s the usual cause. After the first successful flash this stops mattering because you’ll be going over-the-air anyway.
I²C devices that don’t show up. A sensor on the wrong address, or SDA/SCL swapped, produces a silent nothing rather than an error. Add a scan: true to the i2c: block and ESPHome logs every address it finds at boot — compare that against the address you configured. A BME280 clone, for instance, often sits at 0x76 where the datasheet says 0x77, or vice versa.
ESP8266 running out of memory. The 8266 is cheaper but tight on RAM and pins; pile on a few sensors plus the encrypted API and it’ll start rebooting under load. For anything beyond a single sensor I default to an ESP32 and don’t think about it again. The few extra pounds buys you headroom you’ll be glad of.
Boot loops after a config change. A misconfigured pin (claiming a strapping pin the boot process needs, say) can put the device into a reboot loop you can’t OTA out of. Keep the last-known-good .bin around, and remember that a cabled re-flash always rescues you — which is the real reason I never throw away the USB cable for a device, however permanent the install feels.
Verdict
ESPHome is absolutely worth it if you enjoy building things, want to keep your smart home local and private, or have a sensing need no commercial product quite covers. The economics are silly in your favour — a sensor that would cost forty quid as a finished product is a few quid in parts and twenty minutes of YAML. Just as important to me, there’s no cloud account, no app, no telemetry, and no risk that a vendor sunsets the product and bricks your hardware: the firmware is yours, the device speaks only to your Home Assistant, and a discontinued sensor module is the only thing that can ever stop it working.
It’s not for someone who wants to unbox a polished retail device and never see a config file; that’s a perfectly valid preference, and ESPHome will feel like homework to them. There’s also a genuine time cost — the first device takes an evening of fiddling with drivers, pins, and the toolchain before the magic kicks in, and you should go in expecting that rather than a fifteen-minute win. But once the workflow clicks, each subsequent device really is twenty minutes of YAML, and the marginal cost of “I wish I could measure X” drops to almost nothing. If you self-host Home Assistant and have ever had that thought, this is the most rewarding rabbit hole in the hobby — and the one with the best ratio of capability gained to money spent.
Related Content