Danish Pastry Dough from Scratch (with Three Fillings)
Laminated dough, three ways: custard, almond, cinnamon
Danish Pastry Dough from Scratch (with Three Fillings)
Ingredients
- 500g strong white bread flour
- 60g caster sugar
- 10g fine salt
- 10g fast-action dried yeast
- 1 large egg
- 200ml cold milk
- 50g soft butter (for the dough)
- 250g cold unsalted butter (for laminating)
- 1 egg, beaten, to glaze
- 300ml milk and 4 egg yolks, 60g sugar, 25g cornflour, 1 tsp vanilla (custard filling)
- 100g butter, 100g sugar, 100g ground almonds, 1 egg (almond filling)
- 75g soft butter, 75g brown sugar, 2 tsp cinnamon (cinnamon filling)
- 100g icing sugar and a little water, to glaze
Method
- Mix the flour, sugar, salt, yeast, egg, milk and soft butter into a smooth dough, then chill for 30 minutes.
- Beat the laminating butter into a flat 18cm square between baking paper and keep cold.
- Roll the dough to a rectangle, enclose the butter slab, and give three single turns, chilling 30 minutes between each.
- For the custard, whisk yolks, sugar and cornflour, pour on hot milk, cook until thick, add vanilla and cool.
- For the almond filling, beat butter and sugar, then mix in almonds and egg; for the cinnamon, beat butter, brown sugar and cinnamon to a paste.
- Roll the laminated dough to about 5mm and cut into 12 squares or strips.
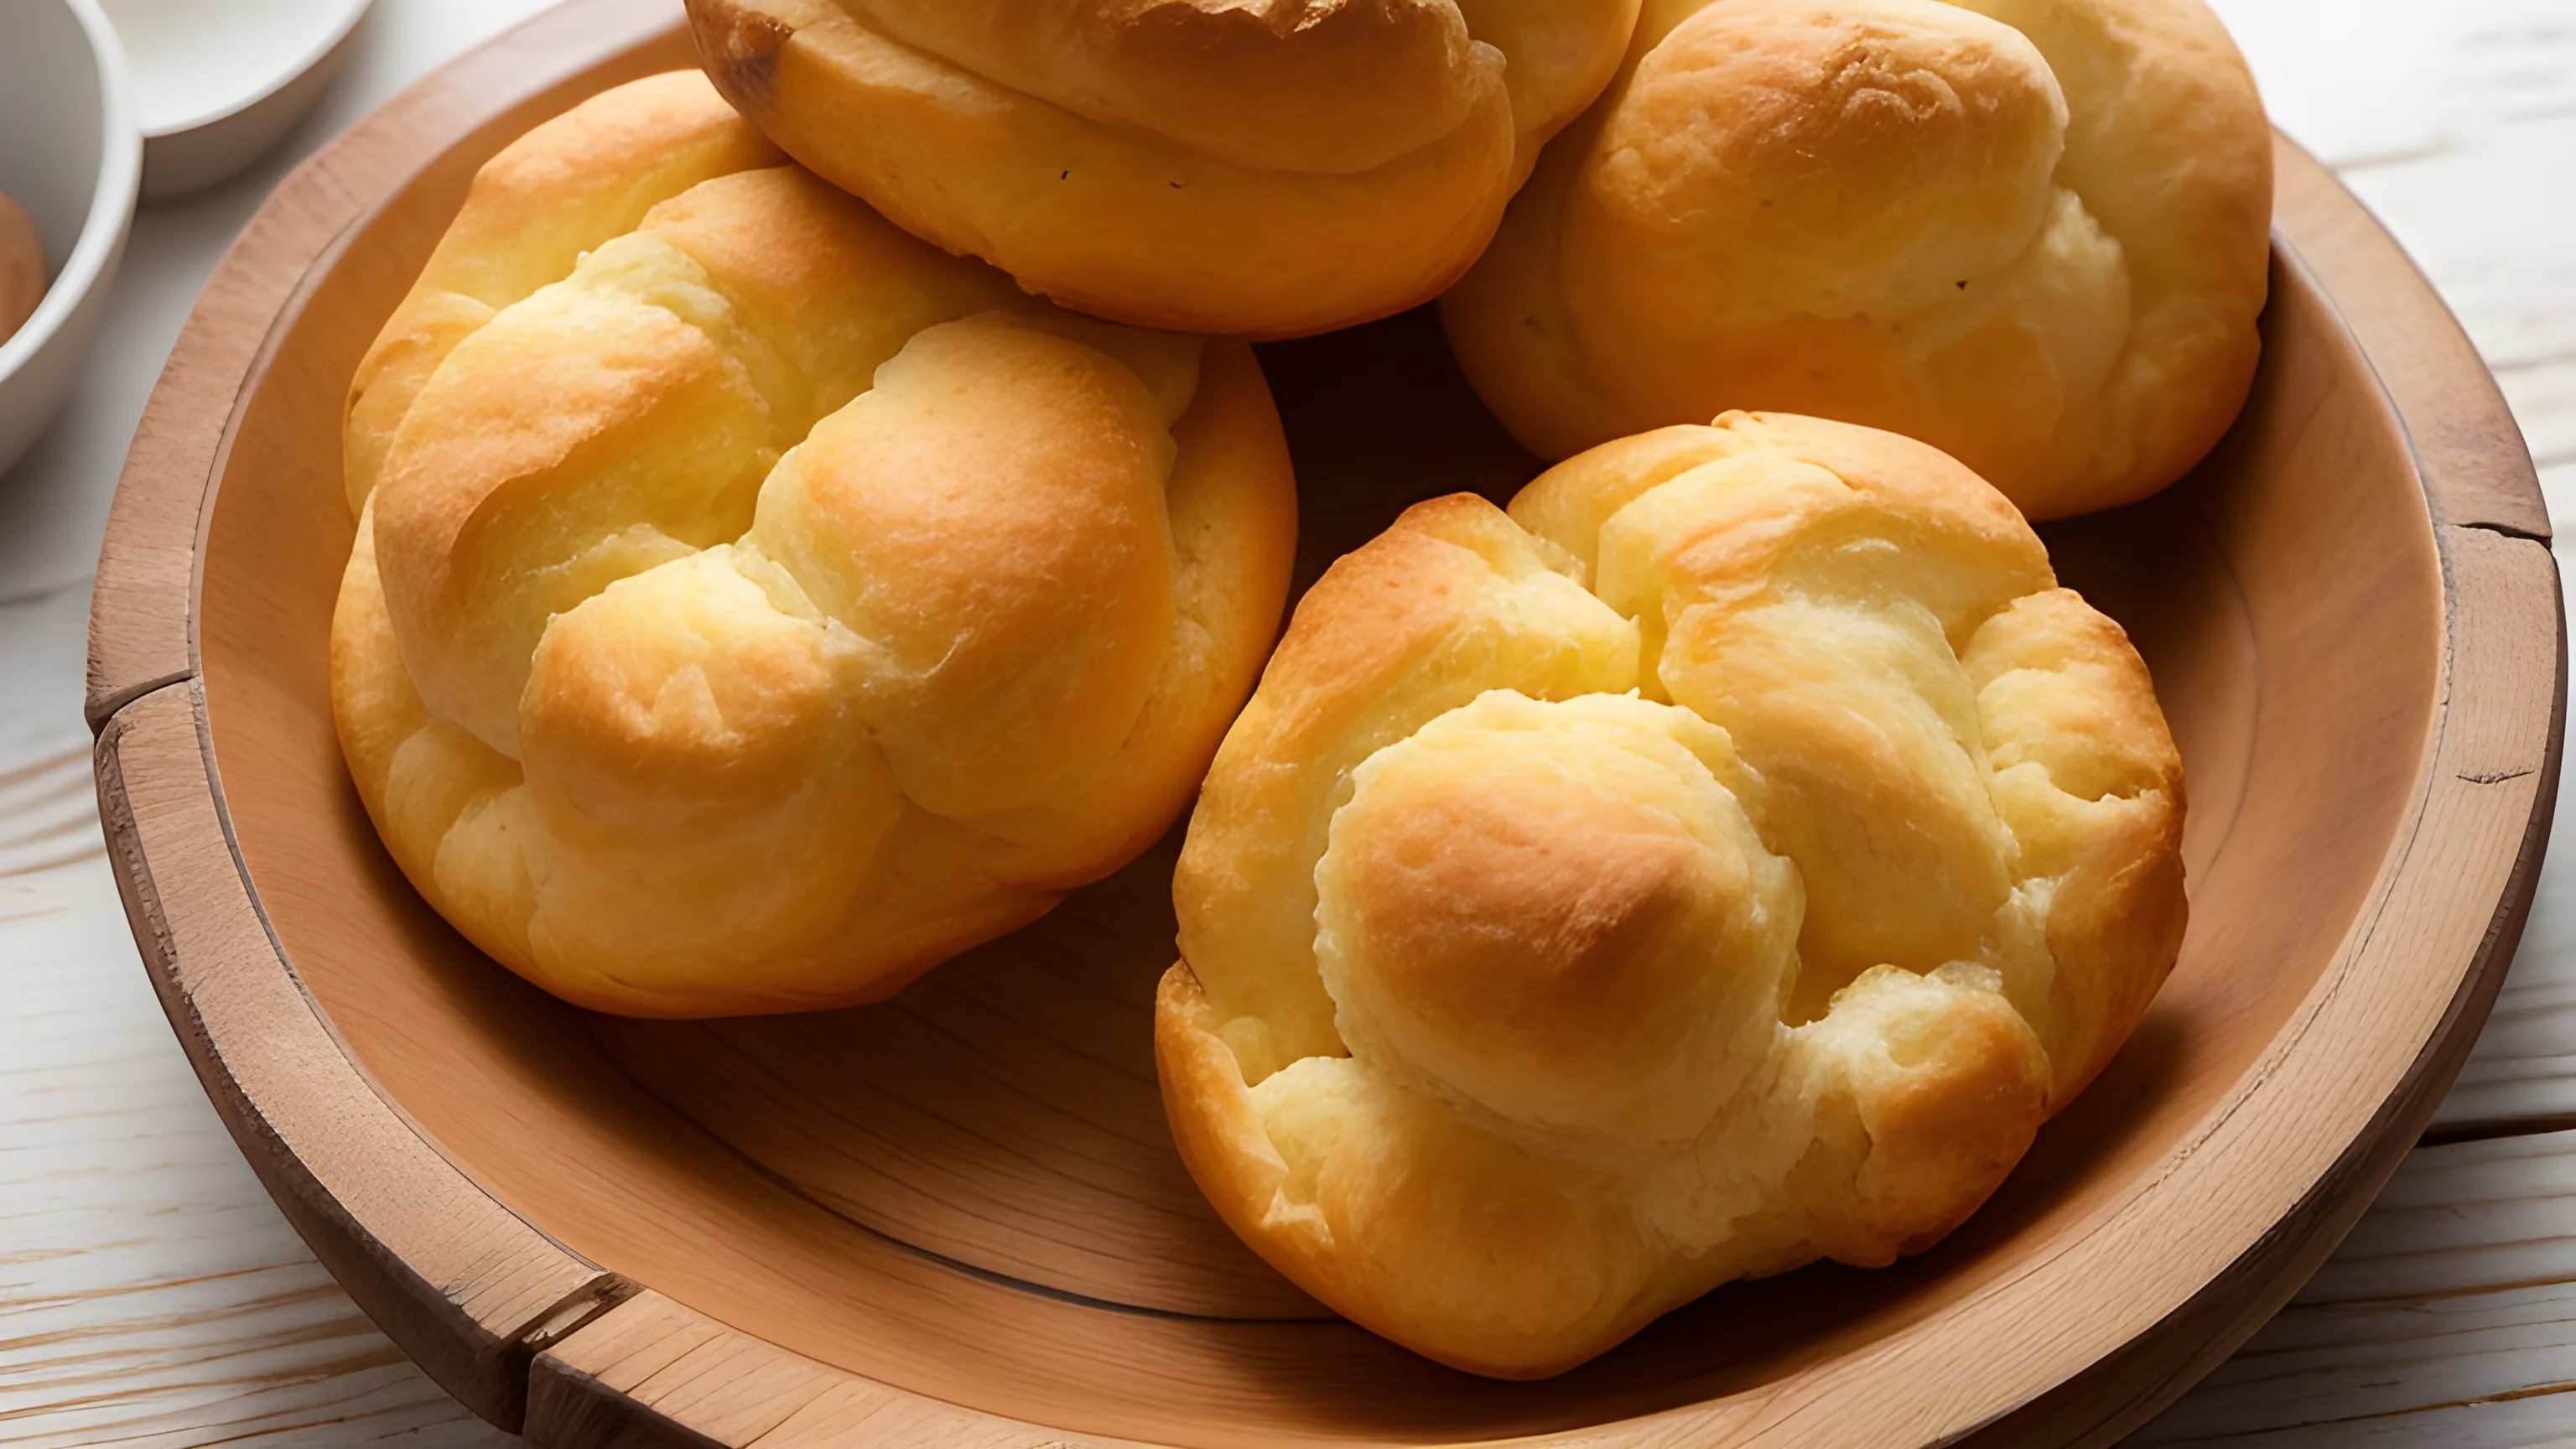
- Shape and fill: pinwheels with custard, envelopes with almond, rolled spirals with cinnamon.
- Prove the shaped pastries until puffy, glaze with beaten egg, and bake at 200C fan for 16 to 20 minutes until deep golden; glaze with icing while warm.
There is a quiet smugness that comes from pulling a tray of homemade Danish pastries out of your own oven, and I am here to tell you it is entirely earned. Laminated dough has a fearsome reputation, but Danish is the friendliest of the laminated family. It is enriched with egg, sugar and milk, so it is forgiving where puff pastry is precise, and it rises with yeast as well as steam, which papers over a multitude of small sins in your folding. Spend one unhurried morning on it and you will never look at a supermarket pain au raisin the same way again.
1 What makes a Danish a Danish
Despite the name, the laminated breakfast pastry we call Danish was brought to Denmark in the 1850s by Austrian bakers during a strike, which is why Danes themselves call these pastries wienerbrod, or Vienna bread. The Austrians had the technique; the Danes ran with it, enriching the dough and making it their own, and the style spread across Scandinavia and then the world. The defining trait is butter folded into yeasted, enriched dough, producing layers that are flaky and bready at once, somewhere between a croissant and a sweet roll.
2 The clever twist: cardamom in the dough
My one small change from the textbook recipe is to grind a teaspoon of cardamom into the flour. In Sweden and Denmark, cardamom is the scent of the bakery; it is in the buns, the breads, the festive loaves. A whisper of it through Danish dough adds a fragrant, faintly citrussy warmth that makes the pastries smell unmistakably Scandinavian rather than generically sweet. It is optional, but once you have tried it you will keep doing it.
3 Laminating without fear
The principle is simple: you trap a flat slab of cold butter inside a sheet of dough, then roll and fold repeatedly to build up alternating layers. The single most important thing is temperature. The butter must stay cold and pliable, not warm and greasy, and not so cold it cracks and tears through the dough. If at any point things start to feel soft or sticky, stop and chill for half an hour. There is no rushing lamination; the fridge is your friend.
Give the dough three single turns, resting and chilling between each. Three turns is plenty for Danish; you are after distinct, flaky layers, not the cloud-like hundreds in a croissant. Roll firmly and evenly, keep your corners square, and try not to let the butter break through to the surface.
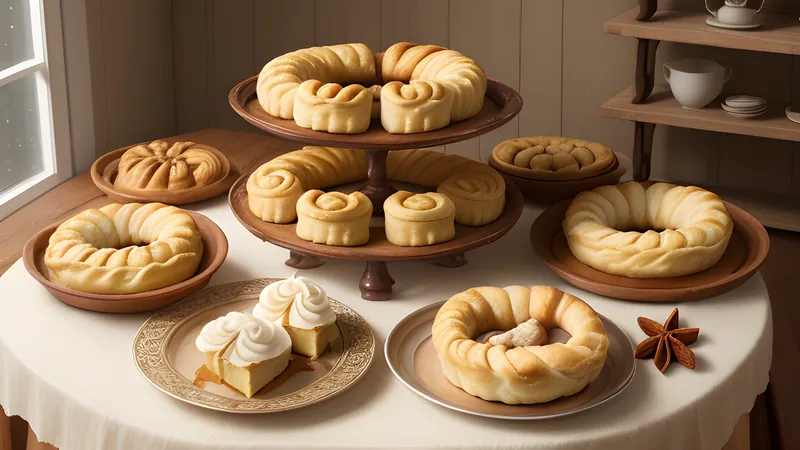
4 Three fillings, one dough
The joy of making a full batch is that you can split it three ways and end up with a proper bakery selection.
The custard pastries are pinwheels: cut squares, fold the corners to the centre, and spoon a blob of thick vanilla creme patissiere into the middle. The almond ones are richer; spread an almond frangipane down the centre of a square and fold it into an envelope, then scatter flaked almonds on top. The cinnamon ones are the homeliest: spread a cinnamon-butter paste over a rectangle, roll it up tight like a Chelsea bun, and slice into spirals.
Make all three fillings while the dough rests between turns and you lose no time at all.
5 Proving, glazing and baking
Once shaped, the pastries need a proper second prove until they look visibly puffy and pillowy; this is what gives them their light, layered crumb. Rushing the prove gives you dense, tight pastries. Glaze them with beaten egg for shine, then bake hot until deeply golden; pale Danish is underbaked Danish, and the butter needs the heat to crisp the layers.
6 Tips and getting ahead
The dough can be made up to the final shaping and kept overnight in the fridge, which actually improves the flavour and means warm pastries for breakfast with only a prove and a bake in the morning. Finish them with a thin water icing while still warm so it sets to a glossy crackle. They are best the day they are made, but a quick reheat brings day-two pastries most of the way back. The effort is real, but so is the smugness.
Related Content