Crumpets from Scratch: Holey, Chewy, Better Than Shop-Bought
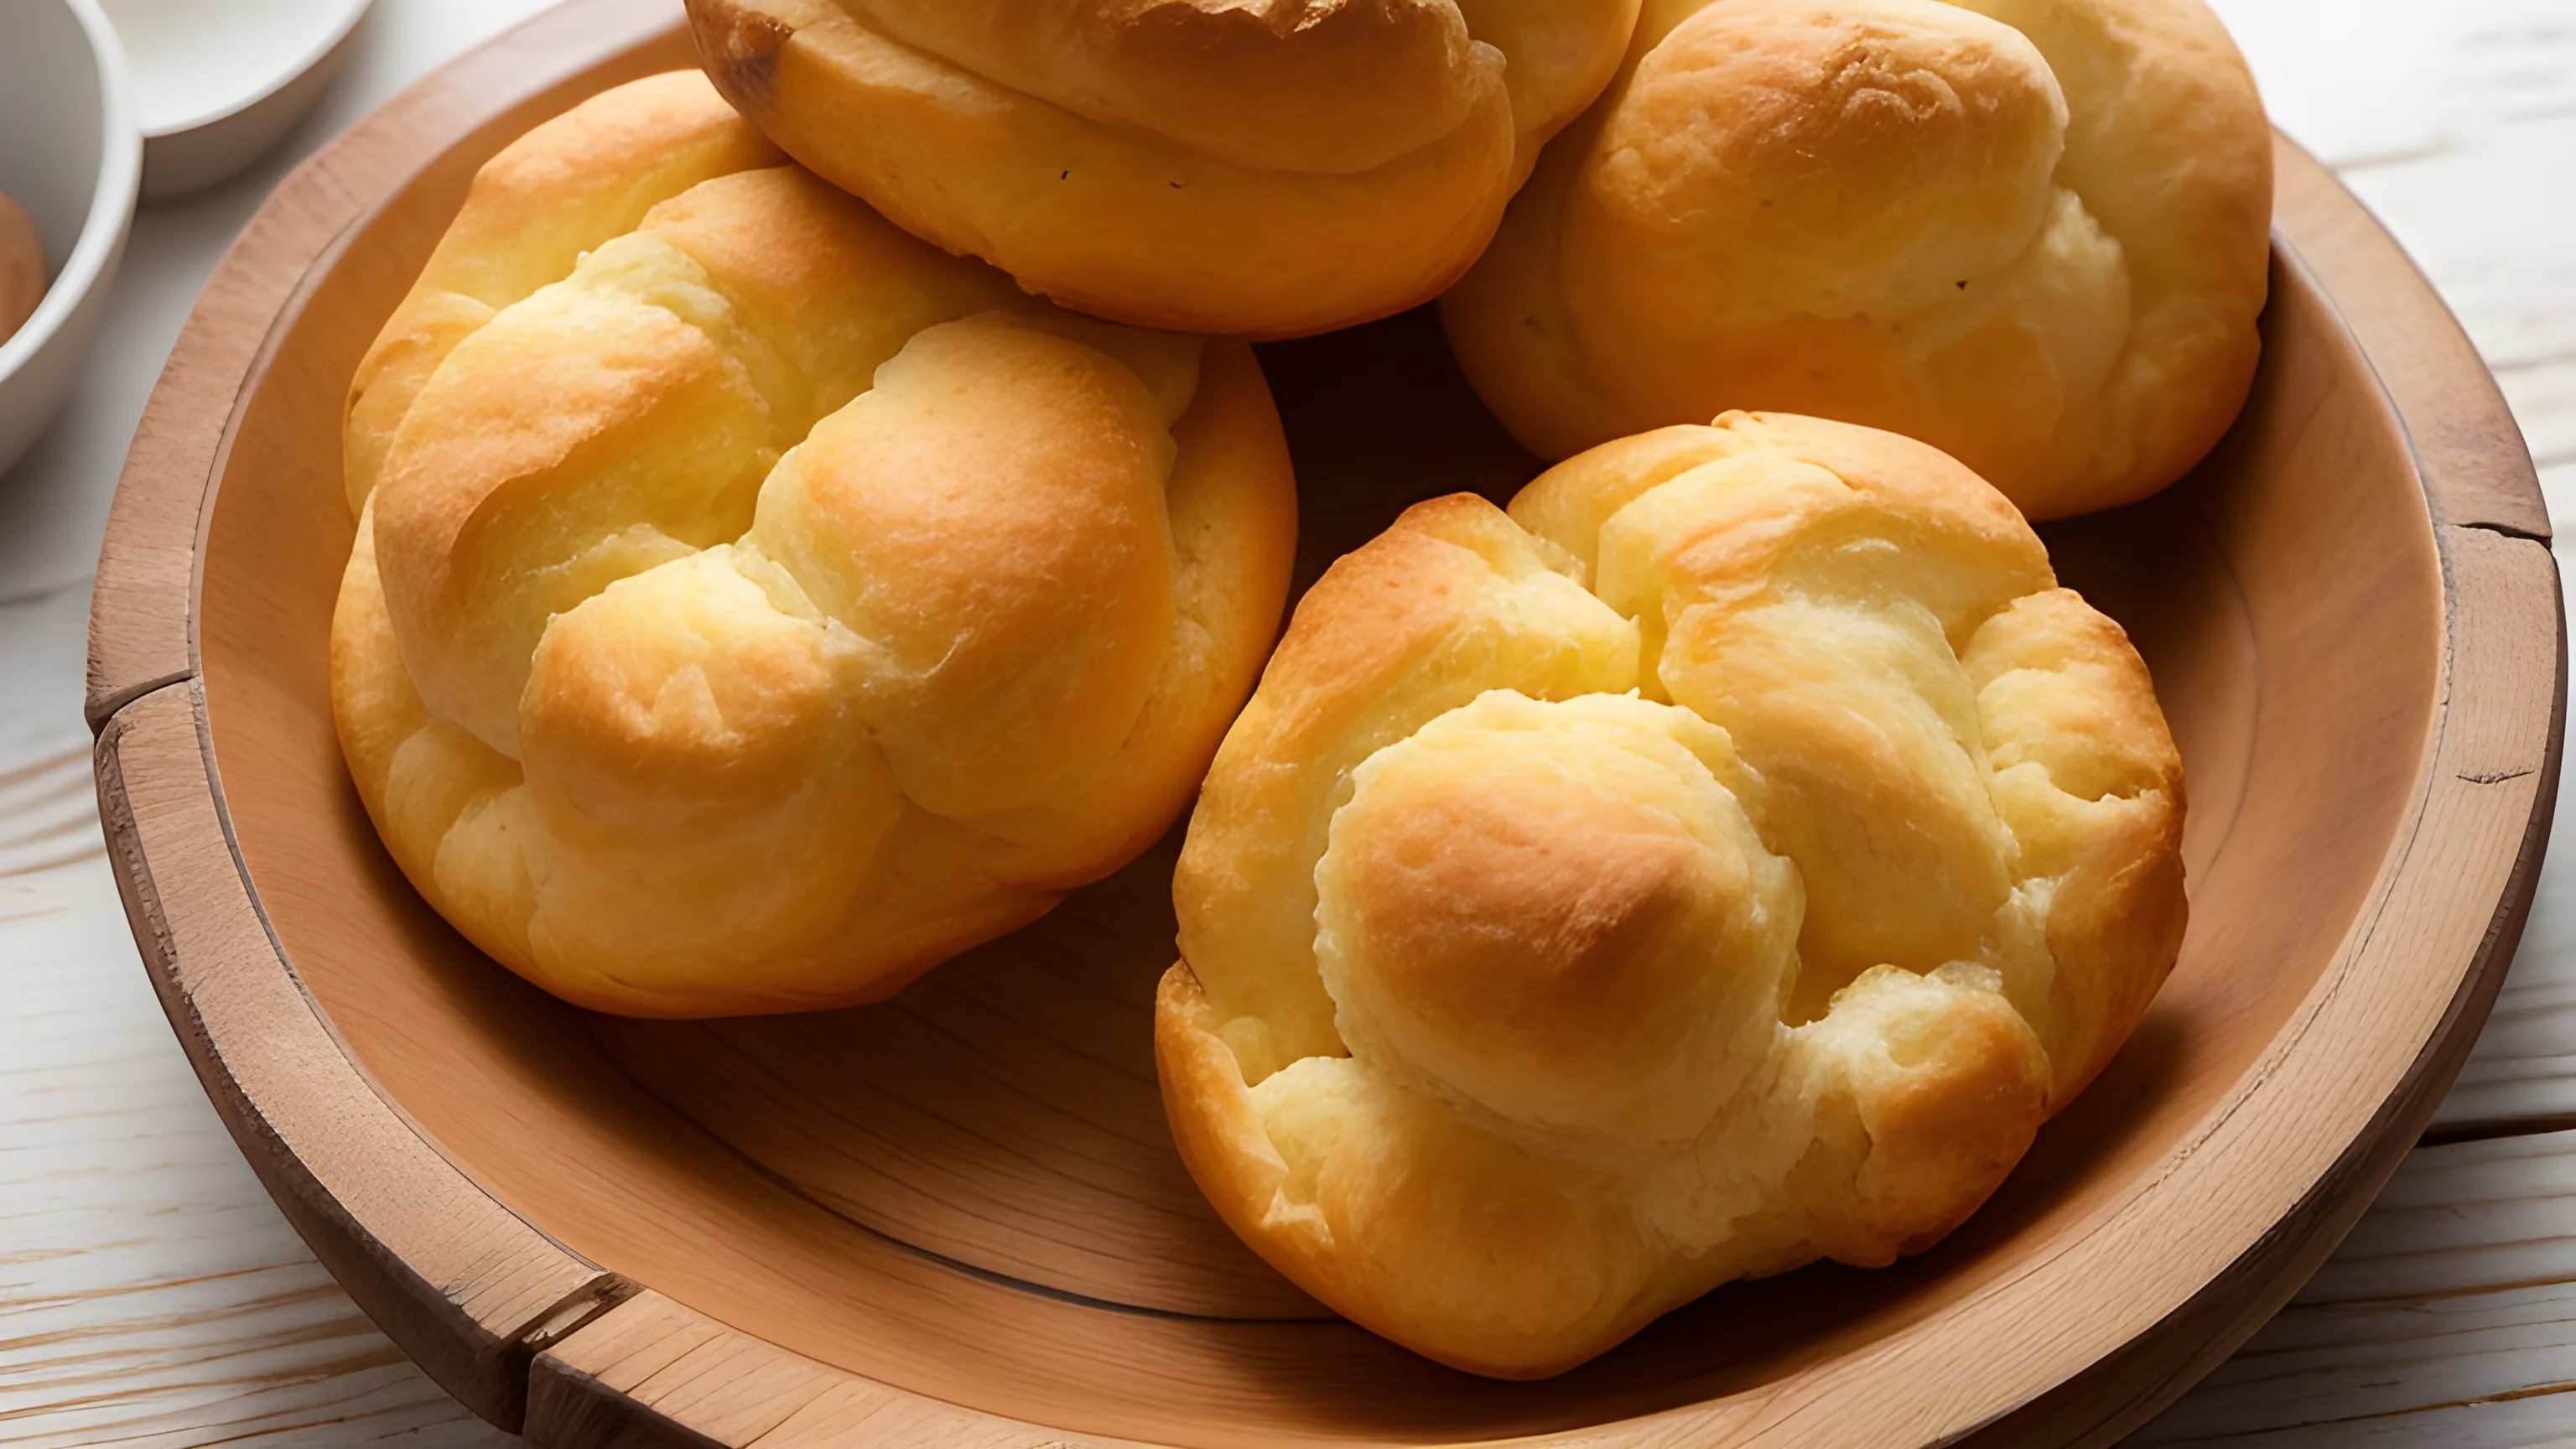
All those open holes, ready to drink butter

Crumpets from Scratch: Holey, Chewy, Better Than Shop-Bought
Ingredients
- 225g plain flour
- 100g strong white bread flour
- 7g fast-action dried yeast
- 1 tsp caster sugar
- 300ml warm whole milk
- 150ml warm water
- 1 tsp fine salt
- 0.5 tsp bicarbonate of soda
- 2 tbsp warm water (for the bicarb)
- Oil and a little butter, for the rings and pan
- 4 greased crumpet or metal rings (about 9cm)
Method
- Whisk both flours, the yeast and the sugar together in a large bowl.
- Warm the milk and water together until just blood-warm, then beat into the dry ingredients to make a smooth, thick batter. Cover and leave somewhere warm for 1 hour, until risen, bubbly and slightly collapsing.
- Dissolve the salt and bicarbonate of soda in the 2 tbsp warm water, then beat this into the batter. Rest for 15 minutes; you want a surface alive with tiny bubbles.
- Heat a heavy frying pan or flat griddle over a low-medium heat. Oil the inside of the rings and set them in the pan.
- Spoon batter into each ring to a depth of about 1.5cm. Cook gently for 8 to 10 minutes, until the surface is set, dry and riddled with open holes.
- Slip off the rings, flip the crumpets and cook the tops for just 1 to 2 minutes to colour lightly.
- Cool on a rack, then toast before serving with cold butter. Repeat with the remaining batter, regreasing the rings each time.
There is a particular small heartbreak in a shop-bought crumpet: you toast it, you butter it, and the butter just sits on top like rain on a closed road. The holes are there for decoration, sealed somewhere underneath a pale dense crumb. A proper homemade crumpet is the opposite. It is honeycombed all the way through with open, glistening holes, chewy and slightly tangy, and when you spread cold butter on a hot one it vanishes straight down into the structure and reappears soaking through the base. The clever twist here is barely a twist at all, more a reclaimed secret: a hit of bicarbonate of soda stirred in at the very end, on top of the yeast, which is what blows those tunnels wide open. Once you have made them, the plastic-bagged ones lose their appeal for good.
Related Content