Kenyan Chapati: The Layered Oil-Rolled Flatbread
Soft, flaky and coiled for shatter
Contents
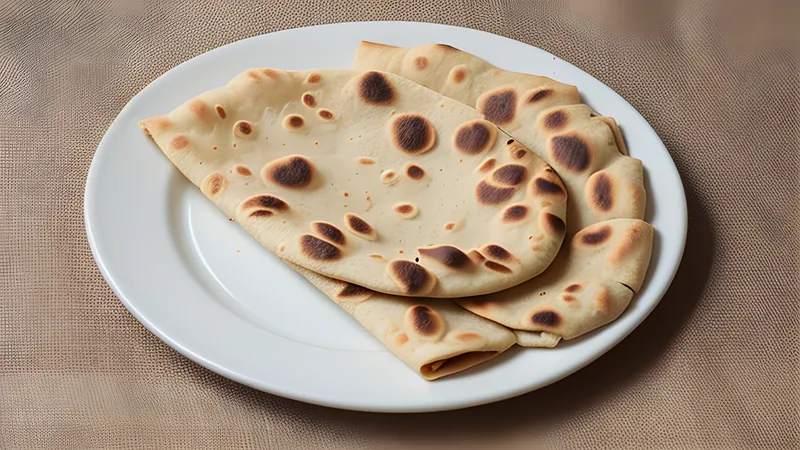
↓ Jump to recipeKenyan chapati is not the same food as the thin, single-layer chapati eaten across much of India, even though the name and the wheat both travelled from there. This version is thicker, richer with oil, and built in layers on purpose, so that tearing one open reveals dozens of thin, flaky sheets rather than a single dense round. It is soft enough to fold around beans or greens and sturdy enough to mop up the last of a stew, and in most Kenyan homes it turns up at Sunday lunch, at weddings, and at any table where someone wants to impress. My one addition, browned ghee instead of plain butter for the final brushing, gives the top layer a nutty depth that plain oil never quite reaches.
Kenyan Chapati: The Layered Oil-Rolled Flatbread
Ingredients
- 500g plain flour, plus extra for dusting
- 1 tsp fine salt
- 1 tsp caster sugar
- 3 tbsp vegetable oil, plus 100ml more for laminating
- 300ml warm water, plus more as needed
- 50g ghee, melted and browned, for cooking and brushing
Method
- Mix the flour, salt and sugar in a large bowl, then rub in 3 tbsp oil until the flour looks sandy.
- Add the warm water gradually, mixing to a soft, slightly sticky dough, then knead for 8 minutes until smooth.
- Cover and rest the dough for 20 minutes, then divide into 8 equal balls.
- Roll each ball into a thin circle, brush generously with the laminating oil, and dust lightly with flour.
- Cut a slit from the centre to one edge and roll the dough into a cone, then coil the cone into a flat spiral.
- Rest the coils for 15 minutes, then roll each one out again into a 20cm round.
- Cook each chapati on a hot dry griddle for 1-2 minutes per side, brushing both sides with browned ghee until blistered and golden.
- Stack the cooked chapatis under a clean tea towel to keep them soft, and press gently between your palms to loosen the layers before serving.
Why the technique works
Two decisions separate a good Kenyan chapati from a mediocre one, and both come down to fat and rest. The first is generosity with the laminating oil brushed onto the rolled-out dough before coiling. Skimp here and the layers fuse back together under the rolling pin; the whole point of the coil is to keep distinct sheets separated by a barrier of fat, so the oil needs to properly coat the surface, right to the edges, before you roll it up.
The second is resting the dough at two separate points: once after kneading, and again after coiling, before the final roll. The first rest relaxes the gluten enough that the dough does not spring back and tear when rolled thin. The second rest lets the oil settle fully into the coiled layers and firms the dough slightly, which stops the delicate spiral structure from collapsing when you flatten it a second time. Rush either rest and the layers blur into each other on the pan instead of separating into visible strata.
Method
- Mix the flour, salt and sugar in a large bowl. Rub in 3 tablespoons of oil with your fingertips until the mixture looks like damp sand.
- Add the warm water in stages, mixing with your hand or a spoon, until a soft, slightly sticky dough comes together. Knead on a lightly floured surface for 8 minutes, until smooth and elastic.
- Cover the dough with a damp cloth and rest for 20 minutes at room temperature. Divide into 8 equal balls, about 95g each.
- Working one at a time, roll a ball into a thin circle roughly 22cm across. Brush the surface generously with the laminating oil, right to the edge, and dust lightly with flour.
- Cut a straight slit from the centre of the circle out to one edge. Starting from the cut, roll the dough into a tight cone, then coil the cone flat into a spiral, tucking the loose end underneath.
- Rest the coiled spirals under a cloth for 15 minutes. Roll each one out again into a round about 20cm across, working gently so you do not tear through the layers.
- Heat a dry, heavy griddle or flat pan over medium-high heat. Cook each chapati for 1-2 minutes per side, brushing both sides with browned ghee as it cooks, until blistered brown spots appear and the layers puff slightly.
- Stack the finished chapatis under a clean tea towel as you go, which keeps them soft and steams them slightly. Press each one gently between your palms just before serving to loosen the internal layers.
Tips and Substitutions
Warm water matters more than most recipes admit; cold water tightens the gluten and makes the dough harder to roll thin without tearing. If your kitchen is cool, warm the mixing bowl briefly under the hot tap and dry it before you start.
Vegetable oil is traditional and neutral, but you can swap it for melted, cooled ghee throughout the dough and lamination if you want a richer, more fragrant chapati from the first bite rather than only at the finish. Sunflower or groundnut oil both work well as substitutes for the vegetable oil without changing the result noticeably. If ghee is not available, clarified butter is the closest match; plain melted butter burns faster on the griddle because of its milk solids, so watch the heat down slightly if that is what you have.
A cast-iron tawa or a heavy non-stick frying pan both do the job; what matters is even, retained heat, so avoid thin pans that cool the moment the dough hits them. If your chapatis are turning tough rather than flaky, the most common cause is under-resting: give both rests the full time rather than rushing to the pan.
If your chapatis come out gummy in the centre rather than flaky, the pan is very likely too hot on the outside and too cool at the core, browning the surface before the interior layers have had time to steam apart; drop the heat slightly and give each side the full two minutes. If they come out hard rather than soft, the dough was probably under-oiled or over-floured during rolling, which is worth checking before you blame the recipe.
Storage and Make-Ahead
Chapati is best eaten within a couple of hours of cooking, while the layers are still distinct and the exterior has a little crispness. Cooked chapatis keep well wrapped in foil or a clean cloth at room temperature for the same day, and in an airtight container in the fridge for up to 3 days. Reheat them in a dry pan over medium heat for about 30 seconds per side, which restores much of the original texture; microwaving works in a pinch but softens the layers unevenly.
The dough itself can be made a day ahead and kept covered in the fridge; bring it back to room temperature before dividing and rolling, as cold dough tears more easily. Rolled, uncooked chapatis also freeze well, layered between sheets of baking paper in a sealed bag for up to a month, and can go straight from the freezer onto a hot griddle with a couple of extra minutes per side.
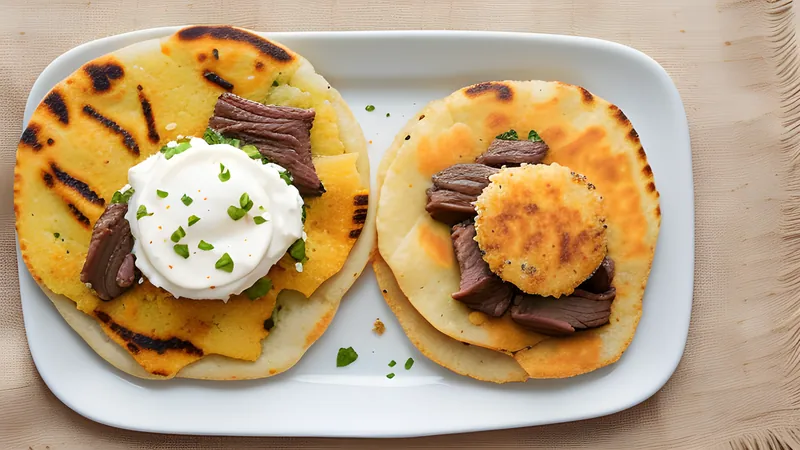
Serve chapati alongside anything with a good sauce to mop up: a plate of nyama choma and a bowl of sukuma wiki is the classic Kenyan lunch, and it works just as well torn alongside a bowl of Zanzibar pilau when you want bread and rice on the same table.
Related Content